Target Construction
Target construction is a critical step in ensuring accurate calibration results with MetriCal. This guide provides detailed instructions on selecting, printing, assembling, and verifying calibration targets.
We can't stress this enough. When using multiple AprilGrid/Markerboard targets, ensure that each target has unique marker IDs. Otherwise, MetriCal will not be able to distinguish between them during detection, leading to calibration failures.
The first step in constructing calibration targets is selecting the appropriate type and size for your modalities. We have included a few of the most common target sets here for convenience.
Camera or Camera-IMU
Both camera and camera-IMU calibrations require visual targets. We prefer AprilGrid targets for their robustness.
Since MetriCal supports multi-target configurations, we have included 2 setups of 3 AprilGrid targets each: one set with smaller markers for close-range calibration, and one set with larger markers for far distances, wide field of view, or low resolution cameras. When in doubt, use the larger tags.
Pay special attention to the marker_id_offset field in the JSON files, which ensures that each
target has unique marker IDs across the multi-target setup.
See our Camera ↔ IMU Calibration Guide for the type of data capture that would use all of these targets together.
Small Tag Configuration
Download Object Space JSON: Camera-IMU Rig, Small Tags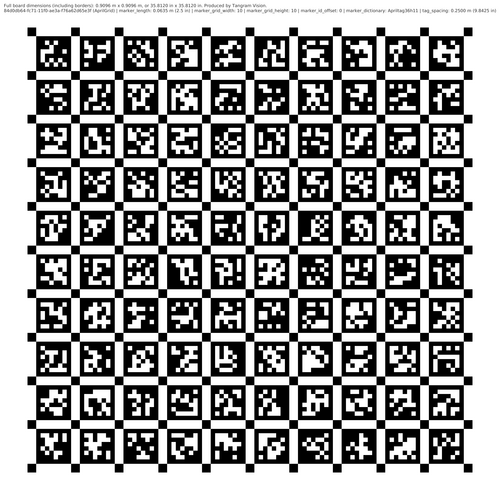
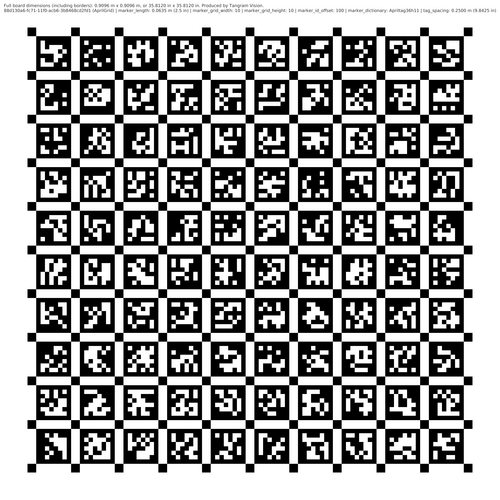
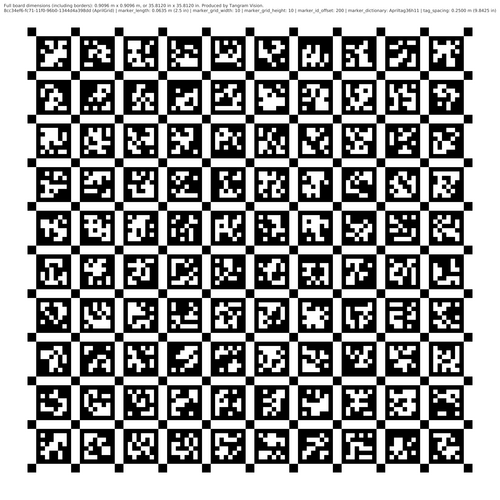
Large Tag Configuration
Download Object Space JSON: Camera-IMU Rig, Large Tags

Camera-LiDAR
Make sure to apply retroreflective tape to the yellow rings on the targets after printing. Without the retroreflective material, the LiDAR won't create a strong return from the target, and calibration will fail.
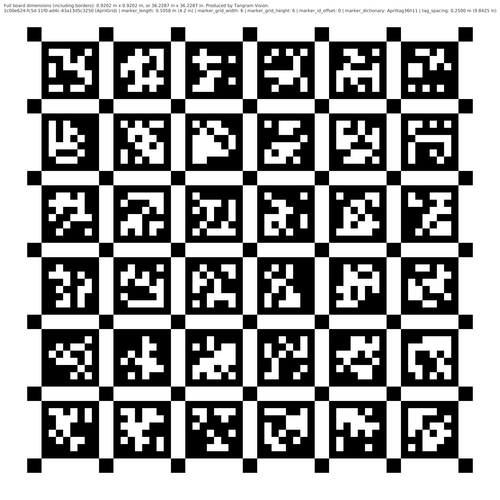
Camera-LiDAR calibrations require both a visual target for the camera and a retroreflective component for the LiDAR. MetriCal accomplishes this with a multi-modal target design.
Just as with the camera and camera-IMU targets, we have included 2 setups: one with smaller markers and another with larger markers. When in doubt, use the larger tags.
See our Camera ↔ LiDAR Calibration Guide for the type of data capture that would use this target.
LiDAR Arc Sticker
Download LiDAR Arc Sticker SVG (10x per Circle)If you need a perfect edge for your tape, you can find a downloadable SVG of the sticker outline for the LiDAR retroreflective ring below. We recommend printing this from a service like decals.com. Print 10 stickers for every LiDAR circle you intend to make.
This all being said, perfect edges aren't strictly necessary. You can also apply retroreflective tape freehand using a cheaper tape roll, and steady hand and, if necessary, a pair of scissors. Something like this should do.
Small Tag Configuration
Download Object Space JSON: Camera-LiDAR Rig, Small Tags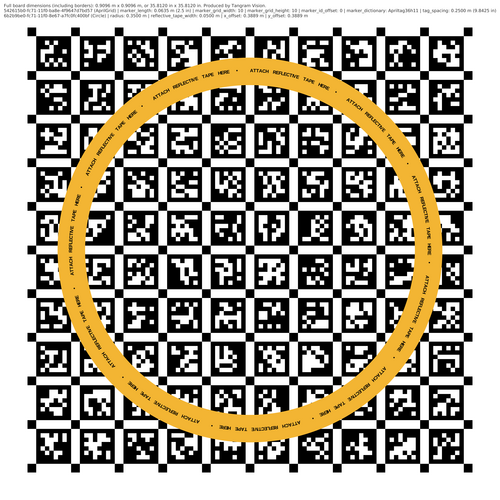
Large Tag Configuration
Download Object Space JSON: Camera-LiDAR Rig, Large Tags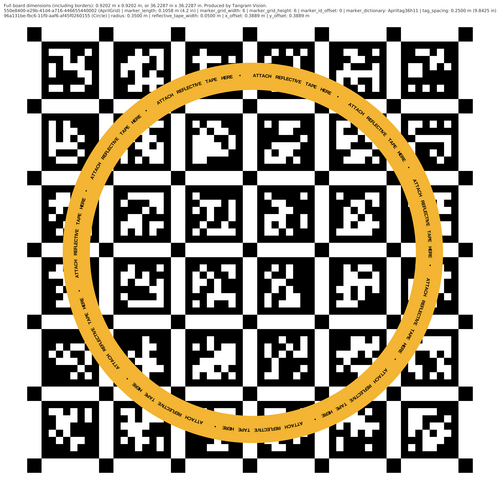
Printing Targets
If you are strapped for time/don't want to print targets yourself, you can buy targets directly from Tangram Vision via our calibration storefront. However, we will be completely up-front with you: we will in turn process your order using UPrinting or a similar service. We only recommend purchasing targets from us if you really need to save time.
Otherwise, printing targets yourself is straightforward and inexpensive! We'll even tell you what we do.
Ordering Targets via UPrinting
- Navigate to UPrinting and select their foam board printing service: https://www.uprinting.com/foam-boards.html
- For each board that you plan to print: read off the size, in inches, of the total printable area. This is noted at the top of every target PDF. Use this to select the appropriate foam board size on UPrinting.
- Select "None" for everything: no lamination, no rounded corners, no hole drilling.
- Upload the corresponding PDF for that target to UPrinting. Every target PDF is already to scale; do not apply any scaling options or resizing.
- Order your targets!
And, if you're using a LiDAR ring, order some retroreflective tape while you're at it.
Verification
After printing, measure your target to verify that it is correctly scaled. All targets shown here have size info printed at the top of the PDF; use that to confirm your printout is accurate.
Troubleshooting Target Issues
If you encounter the "No Features Detected" error (cal-calibrate-001), check the following:
- The measurements of your targets should be in meters
- The dictionary used for your boards, if applicable (e.g., a 4×4 dictionary has targets made up of 4×4 squares in the inner pattern)
- For Markerboards, verify your
initial_corneris set to the correct variant ('Marker' or 'Square') - Make sure you can see as much of the board as possible when collecting your data
- Try adjusting your Camera or LiDAR filter settings to ensure detections are not filtered out
Custom Target Solutions
If you have unique constraints and feel that the targets listed here are insufficient, contact support@tangramvision.com. Tangram Vision has designed and implemented custom target detectors for clients in the past and can help with special requests.